Make your own Truck Bed Drawers
Truck bed drawers are likely to cost you $1000 plus but for much less you can make them yourself. They are easy to build and you won’t have to compromise on the quality either. If you follow this guide they will stand up to years of wear and tear. It’s also an enjoyable project you will be proud to have completed.
This article along with the video I made to go with it, should be enough information to build your own set of drawers.

Plywood is strong and easy to work with, making it ideal for building this project. I used 17mm plywood for the base and the drawer sides and 12mm for the drawer bottoms to save on weight. I recommend to use similar sizes (16-19mm for the base and stick with 12mm for the drawer bottoms). The amount you will need will depend on a couple things, the size of your truck bed and the height of the unit. The height of the drawers need considering, especially if you have a canopy fitted to your truck. Higher drawers will allow you to fit in more items but will reduce the space above the unit. That is a decision you need to make for yourself.


The biggest saving that you make by building yourself, is the cost of the drawer slides. Long heavy duty drawer slides are expensive. If I bought slides for the set up I built (two drawers) it would’ve cost around $500. Making our own super strong and smooth working slides will cost around $75. All that’s needed are skateboard bearings, 25mm box section steel and nuts and bolts.
The first task is to build the base floor. I used strips of plywood around 200mm wide and built up the base by joining them with pocket holes. This may appear like a lot of work but pocket holes are fast to work with. By using strips it was easy to size for my bed and make the base a perfect fit. Having a tight fit means the unit isn’t going to move around while you are driving. It will also be lighter than a full sheet and you can use up any smaller pieces of plywood you may have. This can also be achieved with a single sheet. You will need to work out the dimensions of your truck bed and make cutouts for the wheel arches etc.

Next the base sides, centre piece and back need cutting and fixing. The height of these pieces are 20mm deeper than the drawers. Regular screws driven in from underneath the base would work. I fixed them with pocket hole screws . You should always predrill and use glue before driving in the screws. Take your time and be sure the sides and centre piece are parallel.


The drawers are nothing fancy, a simple box glued and screwed together. The drawer bottoms were cut to fit then glued and nailed those in place.

Next I pre drilled holes along the sides of each drawer. The height isn’t important but somewhere around the middle. This is to attach the steel box section that will act as runners. I fixed these with self drilling metal screws from the inside of the drawers. The width of the drawers with the runners fitted should fit snugly in the base. 1mm gap between each runner and base side is perfect.

Going back to the base we are now ready to fit the skateboard bearings to make the drawer slides. First we need to work out the height for the bearings. This is determined by the position the runner was fixed onto the drawers. There needs to be around 10mm between the drawer bottom and the base floor. The gap between the top and bottom bearings should be the same thickness as the runner, a slight gap would be fine. I made a quick jig to drill the holes in the correct position. Then it is a case of drilling holes for the bearings to be bolted to the sides. Watching the video at this stage will be helpful.If the base is parallel the drawers should fit. If there’s any slight binding a squirt of silicone spray on the side of the runner will help. A top still needs fitting which will strengthen the whole unit. You may find at this point the drawers don’t run quite right as the centre piece of the base isn’t supported at the front.
Fitting the Unit
To fix the finished base into the truck bed I made use of tie down points located in the corners of the bed. I did this by fixing pieces of plywood to the base then bolting those pieces to where the tie downs were. If you are happy to drill holes in the truck bed floor you could bolt directly through it. Another option would be to use a few dabs of silicone or construction adhesive between the bed and the base. One way or another the base needs to be well fixed to the bed. Otherwise it will bounce around every time you hit a bump in the road and could eventually weaken and break. The last task is cutting and fitting the top, this will add strength to the unit. It’s simple task of measuring, cutting and screwing plywood to the top. I didn’t use glue here but I did use plenty of screws.

A few items I haven’t gone into that certainly finish off the project and give it that pro touch are:
-
A catch to stop the drawers from moving backwards and forwards while driving.
-
A stop to prevent the drawer being pulled too far and out of the unit.
-
Drawer fronts covered in carpet to give it a slick look.
-
A rubber mat or carpet for the top.
-
Hatches to make use of the space down the sides of the unit.
-
Drawer dividers to keep your things organised.
These are all shown in the video and are self explanatory.

WOODWORKING PLANS
My Project Plans
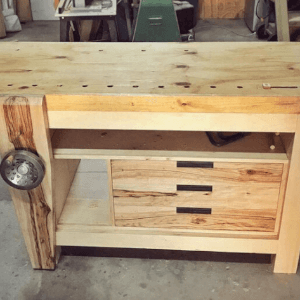
$9 USD - Solid Workbench PLANS
Beginner
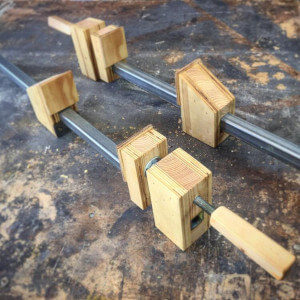
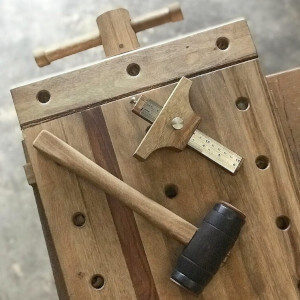
$9 USD - Wooden Bar Clamp
Beginner
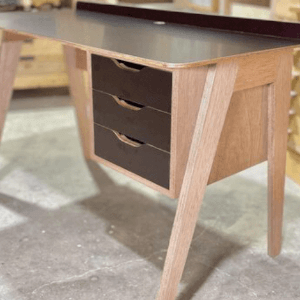
$9 USD - Plywood Desk Plans
Beginner
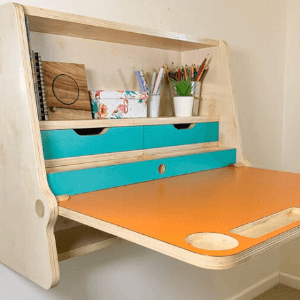
$9 USD - Folding Desk
Medium
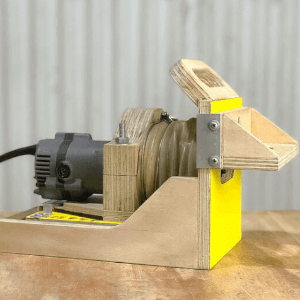
$9 USD - Handheld Mortiser
Intermediate
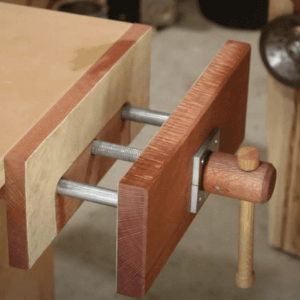
$9 USD - Quick Release Vice
Intermediate
$9 USD - Mini Extendable Workbench
Intermediate
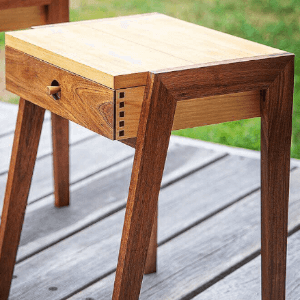
$9 USD - Bedside Tables
Intermediate