Handmade Japanese Style Plane
Making your own hand plane is a very achievable and satisfying project. This past week I finally got around to making one and was able to cross it off the ‘to-do’ list.

The trigger for finally getting around to it was my boy Bradley showing an interest with my hand planes. He tried a few of them, my low angled block plane, Stanley no4 and my Stanley no5. Although he favoured the no4 he did struggle with it. One thing that didn’t help was the bench top being too high. Although he found getting the correct technique difficult too. I wondered, “would a Japanese style plane be any easier for him?”. The idea being, you pull a Japanese plane rather than push. I’ve never used a pull plane before so I wasn’t sure but it was an excuse to try and make one.


I had no idea where to start but after doing some research I learned enough to get going. I learned all the Japanese terms for each part of a plane. Kanna is Japanese for a plane. I won’t use those terms in this article but if you would like to learn them, they are easy enough to find.
The blade, known as an iron on a hand plane, needs to have some mass to it. Unlike the blade in my Stanley planes it needs to be quite thick, around 5-10mm. This is to stop any resonation and to avoid the plane iron chattering when in use. The other main feature is its wedge shape so it can bed tightly into the plane.


I started with an old plane iron that I’d aquired along with a couple of others from over the years. It’s a Mathieson & Son of Glasgow iron. I can’t remember how much I paid but it wouldn’t have been much. The first job was to cut it down to length with an angle grinder. Then I took a piece of mild steel, shaped it into a wedge and stuck it to the back of the iron to add the needed mass. Welding it wasn’t an option as the heat from the welder would’ve destroyed the cutting edge. Adhesive was the way to go, at least that’s the route I took. I used JB weld, I’d never used it before but for this task it did an excellent job. There is a lot of surface area between the iron and the steel so the adhesive should stand up well. I cleaned the
newly formed iron, shaped and sharpened it and then put it aside to work on the chip breaker.


The chip breaker was another piece of mild steel shaped into a wedge with a gentle curve on it. The back end needed the corners bending over. This made two feet like corners that raise the flat underside of the chip breaker. This allows the front edge to rest
precisely against the iron. I worked the edge leaving it flat and true.
The body, made from a piece of American White Oak, would
ideally be quarter sawn or rift sawn. I do have quarter sawn Silky Oak but that isn’t as dense as the White Oak.
There are a few ways to make the body. It could be broken down into strips on the table saw and laminated together. It could be ripped straight down the middle making it easier to hollow out the relief. Or it can be done traditionally with a chisel. I did it the traditional way.

After chopping out the throat and mouth of the plane I fitted a 4.5mm bar for wedging the chip breaker in place.
The dimensions of my plane are 250mm long, 70mm wide and 34mm high with a 52mm wide iron.
I sharpened the iron to 1000 grit which isn’t that high compared to what others sharpen to. After sharpening I polished it with a strop. The plane is wonderful to use and has already made some very fine, satisfying shavings. I’m super happy with how it turned out.
I’m already planning my next homemade plane.

WOODWORKING PLANS
My Project Plans
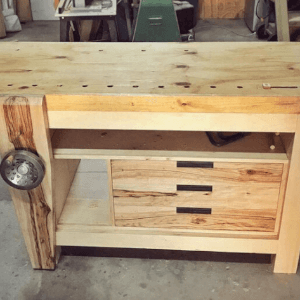
$9 USD - Solid Workbench PLANS
Beginner
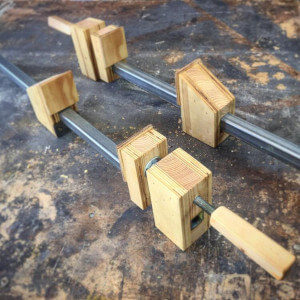
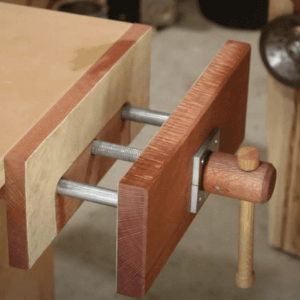
$9 USD - Wooden Bar Clamp
Beginner
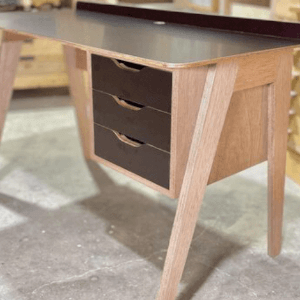
$9 USD - Plywood Desk Plans
Beginner
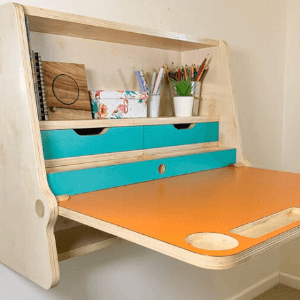
$9 USD - Folding Desk
Medium
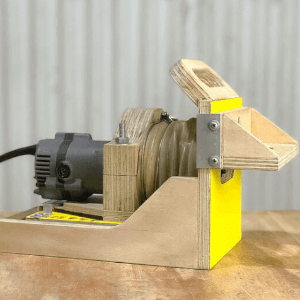
$9 USD - Handheld Mortiser
Intermediate
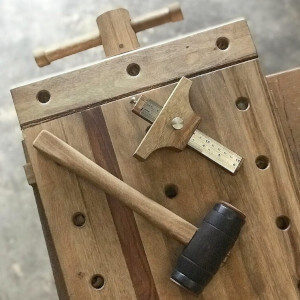
$9 USD - Quick Release Vice
Intermediate
$9 USD - Mini Extendable Workbench
Intermediate
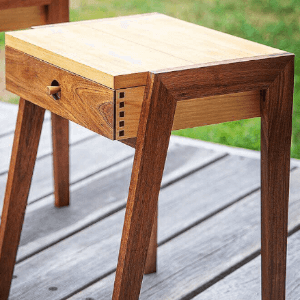
$9 USD - Bedside Tables
Intermediate